
Allow me to share an approach that changed how I think about everything.
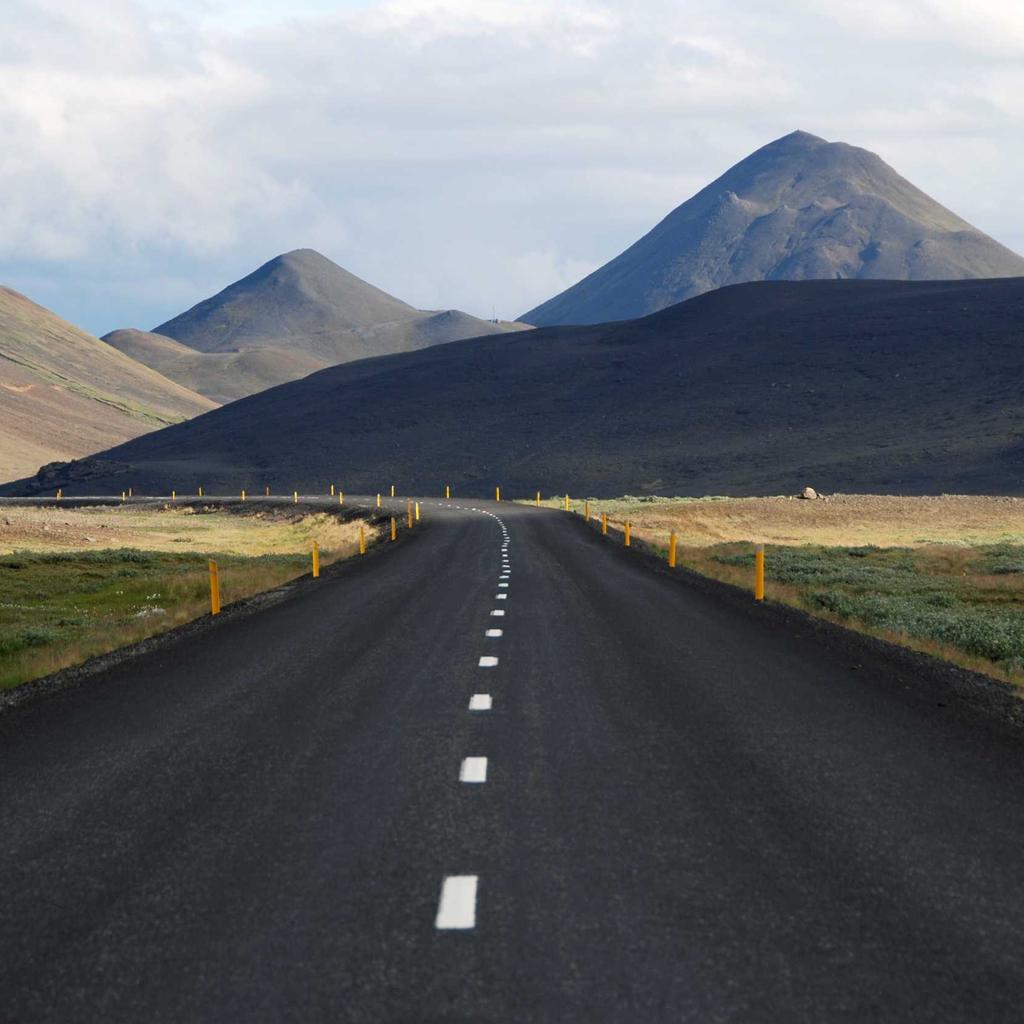
Technology keeps making cameras smarter, but Night Photography remains a skill that separates memorable images from forgettable ones. No amount of automation can replace creative understanding.
The Documentation Advantage
Documentation is something that separates high performers in Night Photography from everyone else. Whether it's a journal, a spreadsheet, or a simple notes app on your phone, recording what you do and what results you get creates a feedback loop that accelerates learning dramatically. For more on this topic, see our guide on Silhouette Photography Trends to Watch i....
I started documenting my journey with color harmony about two years ago. Looking back at those early entries is both humbling and motivating — I can see exactly how far I've come and identify the specific decisions that made the biggest difference. Without documentation, all of that would be lost to faulty memory.
What makes this particularly relevant right now is worth explaining.
Advanced Strategies Worth Knowing
I want to challenge a popular assumption about Night Photography: the idea that there's a single 'best' approach. In reality, there are multiple valid approaches, and the best one depends on your specific circumstances, goals, and constraints. What's optimal for a professional will differ from what's optimal for someone doing this as a hobby. For more on this topic, see our guide on Simple Golden Hour Shooting Changes That....
The danger of searching for the 'best' way is that it delays action. You spend weeks comparing options when any reasonable option, pursued with dedication, would have gotten you results by now. Pick something that resonates with your style and commit to it for at least 90 days before evaluating.
Getting Started the Right Way
One approach to rule of thirds that I rarely see discussed is the 80/20 principle applied specifically to this domain. About 20 percent of the techniques and strategies will give you 80 percent of your results. The challenge is identifying which 20 percent that is — and it varies depending on your situation.
Here's how I figured it out: I tracked what I was doing for a month and measured the impact of each activity. The results were eye-opening. Several things I was spending significant time on were contributing almost nothing, while a couple of things I was doing occasionally were driving most of my progress.
Measuring Progress and Adjusting
Let's address the elephant in the room: there's a LOT of conflicting advice about Night Photography out there. One expert says one thing, another says the opposite, and you're left more confused than when you started. Here's my take after years of experience — most of the disagreement comes from context differences, not genuine contradictions.
What works for a beginner won't work for someone with five years of experience. What works in one situation doesn't necessarily translate to another. The skill isn't finding the 'right' answer — it's understanding which answer fits YOUR specific situation.
Pay attention here — this is the insight that changed my approach.
What to Do When You Hit a Plateau
The relationship between Night Photography and environmental context is more important than most people realize. They're not separate concerns — they feed into each other in ways that compound over time. Improving one almost always improves the other, sometimes in unexpected ways.
I noticed this connection about three years into my own journey. Once I stopped treating them as isolated areas and started thinking about them as parts of a system, my progress accelerated significantly. It's a mindset shift that takes time but pays dividends.
Lessons From My Own Experience
One thing that surprised me about Night Photography was how much the basics matter even at advanced levels. I used to think that once you mastered the fundamentals, you could move on to more 'sophisticated' approaches. But the best practitioners I know come back to basics constantly. They just execute them with more precision and understanding.
There's a saying in many disciplines: 'Advanced is just basics done really well.' I've found this to be absolutely true with Night Photography. Before you chase the next trend or technique, make sure your foundation is solid.
Simplifying Without Losing Effectiveness
A question I get asked a lot about Night Photography is: how long does it take to see results? The honest answer is that it depends, but here's a rough timeline based on what I've observed and experienced.
Weeks 1-4: You're learning the vocabulary and basic concepts. Progress feels slow but foundational knowledge is building. Months 2-3: Things start clicking. You can execute basic tasks without constant reference to guides. Months 4-6: Competence develops. You start noticing nuances in leading lines that were invisible before. Month 6+: Skills compound. Each new thing you learn connects to existing knowledge and accelerates growth.
Final Thoughts
Consistency is the secret ingredient. Show up, do the work, and trust the process.